Our gaming groups have a blast with Glue Stick Terrain. We learned how to take it to the next level along the way. Now you can look over our shoulders to see what works for us.
We enjoyed Scotty’s 2.5D terrain back in the day, but it didn’t go far enough for us. Our gaming groups gave us the feedback that led to low-profile Glue Stick Terrain. Their ongoing feedback helps us push the boundaries of low-profile terrain.
Like us, I am sure you admire guys like Scotty, Wylock, and Jeremy at Black Magic Craft. They have taken DM crafting to a whole other level. But none of us wants to go full-on DM crafting mode. We would rather DM and play the game.
Also, we aren’t confused about what Glue Stick Terrain is. We know it is not expensive high-end Dwarven Forge modular terrain. We would sooner save money by making solid inexpensive modular terrain and spend the rest on beer for our encounters.
So when we make Glue Stick Terrain, we stick to some basic principles:
- Low-profile, for unobstructed play,
- Look good, so you don’t have to be an artist,
- Inexpensive, so you can spend your money on important things like beer,
- Quick and easy to make, because you’d rather be a DM than a crafter,
- Travel and store well, so you can DM anywhere, anytime,
- Durable, so they stand up to regular play for a long time.
We know that many DMs, especially in the beginning, use a glue stick to paste printer paper images to old cardboard boxes. Why not? It works, and it lets you get your feet wet. Besides, that’s what we envisioned when we started making the kits.
As more people used the tiles, we found that how you construct them makes a big difference.
When you make Glue Stick Terrain for your group’s encounter, use the following tips to take it to the next level. Everyone will enjoy the experience.
8 Tips To Take Glue Stick Terrain To The Next Level
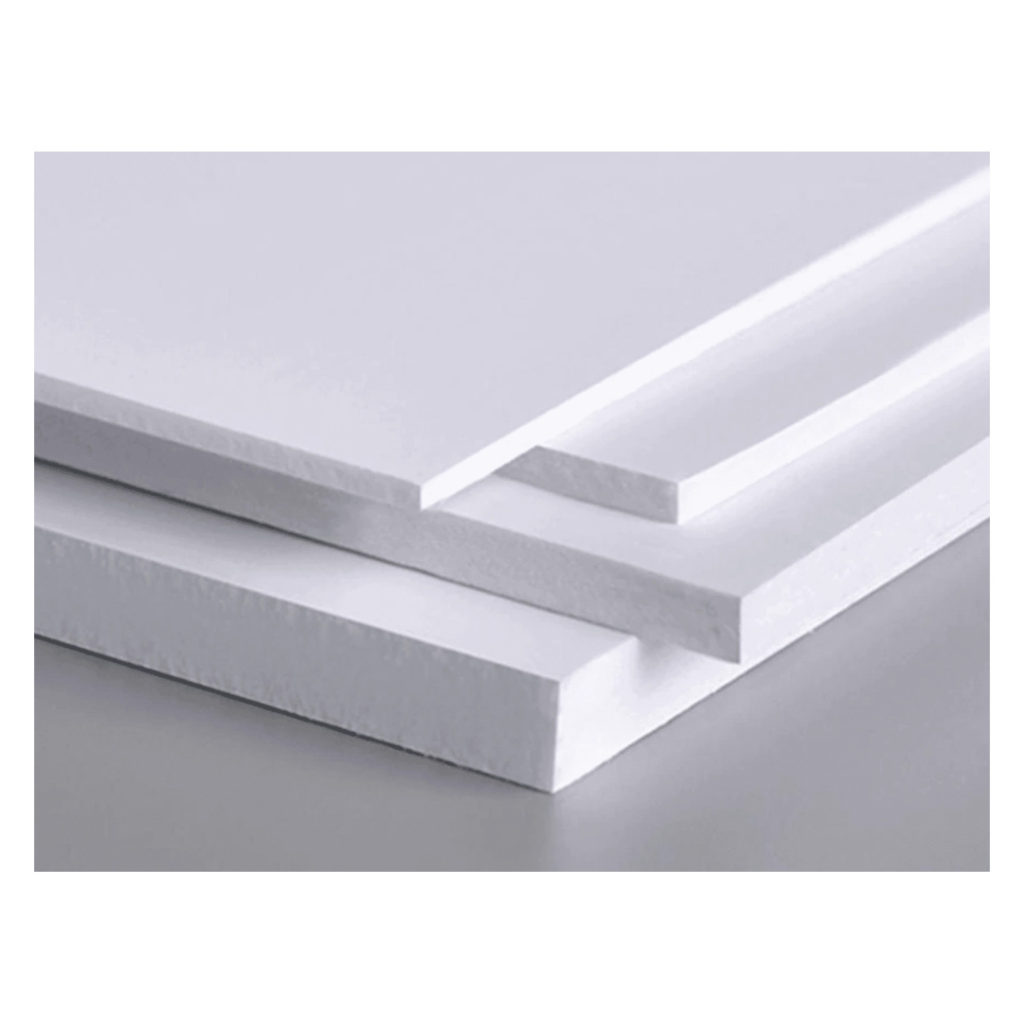
Foamcore Board Beats Cardboard
We always make our tiles with foamcore board. It gives your terrain that finished look that says you took the time to make something worthwhile.
It is true. A lot of crafter DMs use corrugated paper. They go dumpster diving to keep a constant supply.
If you spend any time learning about corrugated paper terrain, you will learn all sorts of ways to cover the edges.
It seems to say that they know it looks terrible; otherwise, they wouldn’t cover it up.
Not using a base you have to doctor up makes more sense. Besides looking better, foamcore saves construction time because you don’t have to hide the edges.
Use a sharp craft knife to cut the foamcore board for the best results. If you don’t, you risk spalling. Spalling is the small chips of foam that break off while you cut. It leaves an unsightly rough edge.
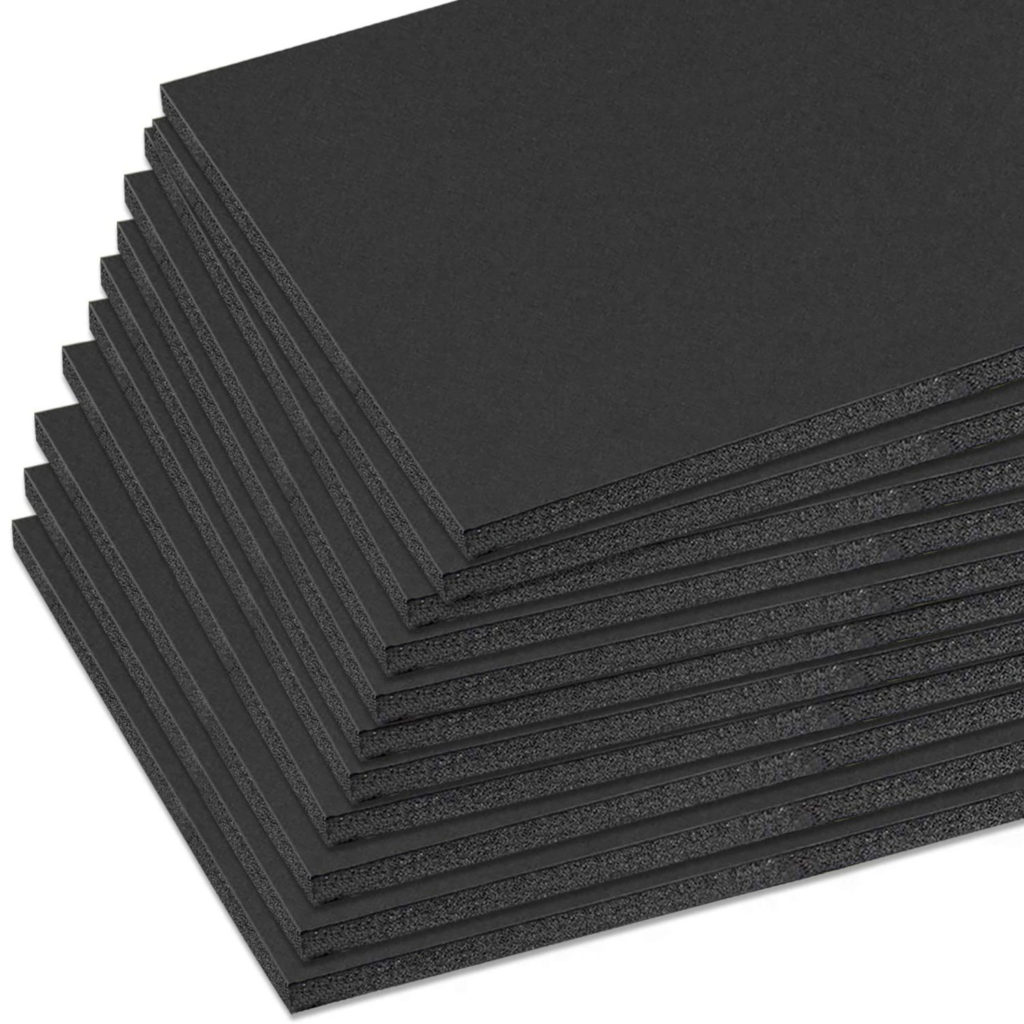
Wow Them With Black Foamcore Board
At first, we didn’t think it would make any real difference. But we tried some black foamcore anyway.
Wow! What a difference!
The problem is white foamcore edges are distracting. You see them before anything else. That makes it harder to see the playing surface.
Black hides any tiny glitches you made when cutting the tile. Plus, it makes the tokens and the decorations the focus, not the tile walls.
It is easy to find a white foamcore board. Just drop into the Dollar Store. Black foamcore takes a little more effort to find. We occasionally see it at Wally World, but now we have Jeff drop some on our doorstep whenever we need it.
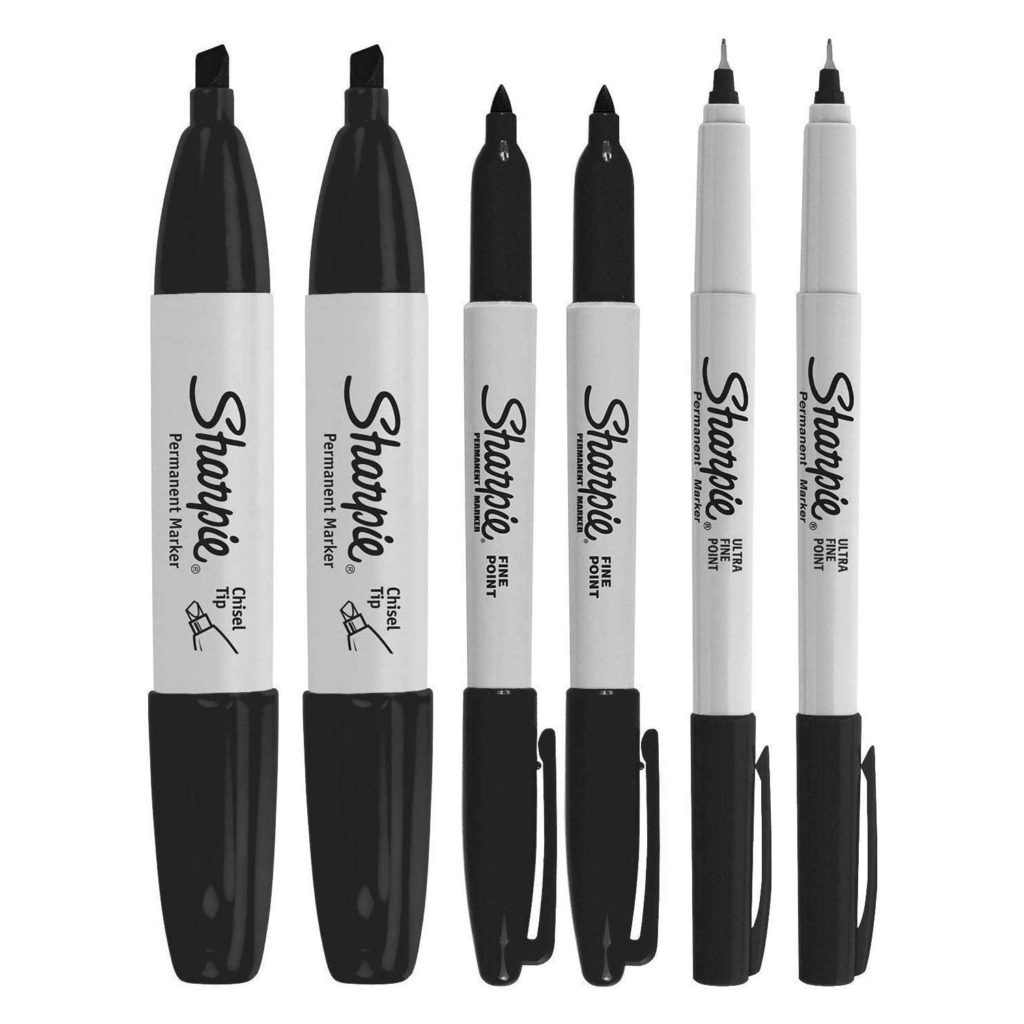
Finish It With A Black Marker
Glue Stick Terrain uses printed playing surfaces. They are a real timesaver, plus you don’t have to be an artist to get fantastic results.
We didn’t notice the slim white edge left after cutting the paper when using corrugated paper bases. It wasn’t a problem when we switched to a white foamcore board. But once we stepped up to black foamcore, the edges of the paper stood out.
Fortunately, a black marker solves the problem. All you have to do is run the tip along the white edge. The slight edge vanishes right before your eyes.
There are many brands of black markers. Each seems to have its formula for black. We had to try several different ones before finding a match between our printer’s ink and the black foamcore. While we use Sharpies, you may find a better match.
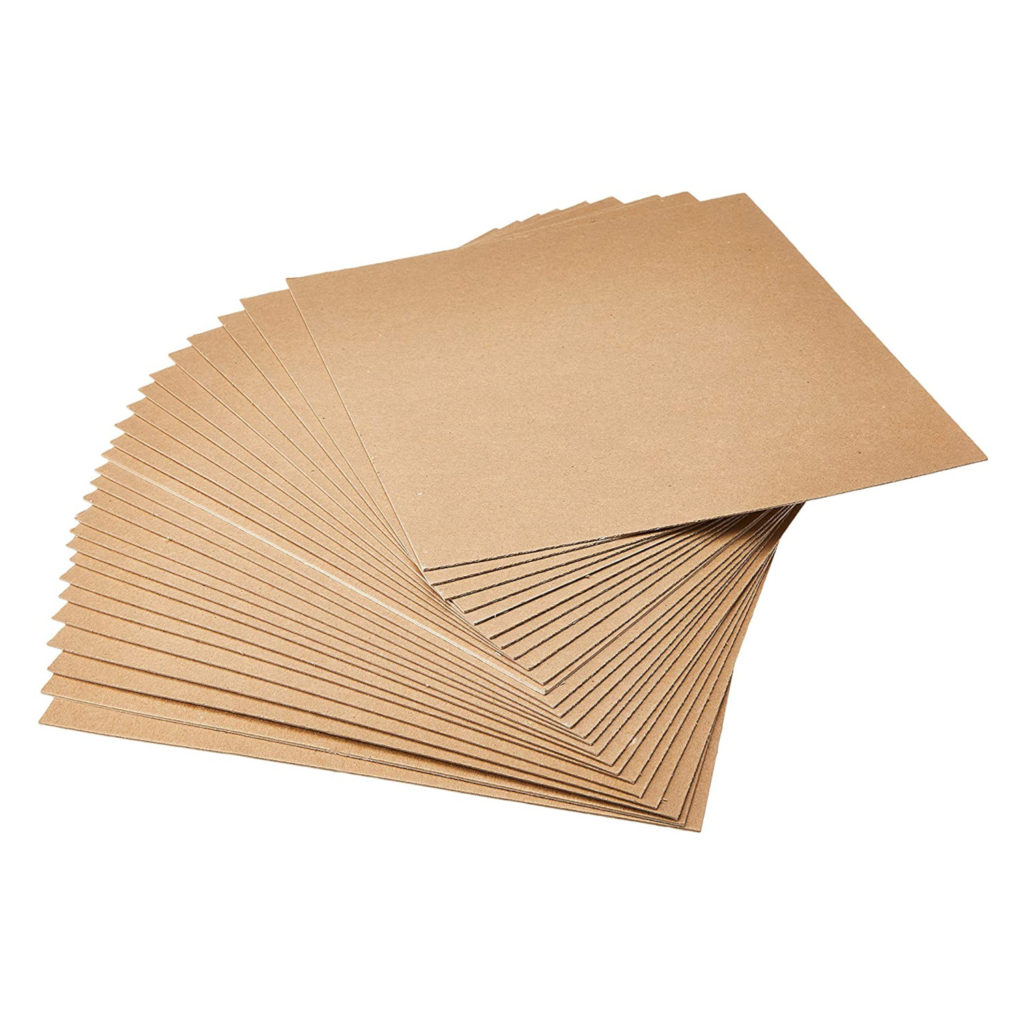
Toughen The Bottom With Paperboard
Modular tiles get dinged a lot. They get dinged in storage. There is no doubt they can take a beating during play. Heck, we have even bunged them up while making them.
The bottom corners are particularly prone to damage. Consequently, tiles can look shabby in a few outings. So we looked around for something to protect the bottom corners.
We found that 50 pt kraft paperboard bottoms make a huge difference. It is thick enough to withstand regular use. Plus, it applies easily. We glue them to the bottom of the foamcore board when making the base layer.
Besides taking the dings better than foamcore, paperboard bases also grab the tabletop better. They have a rougher surface than the paper facing of foamcore board, so the tiles don’t slide as easily. Also, they add a little weight to the tile, so they stay put better.
Once again, we have Jeff drop off packages of 50 pt paperboard at the house. We have found cheaper suppliers, but they want us to buy several hundred boards at a time. For us, that is overkill.
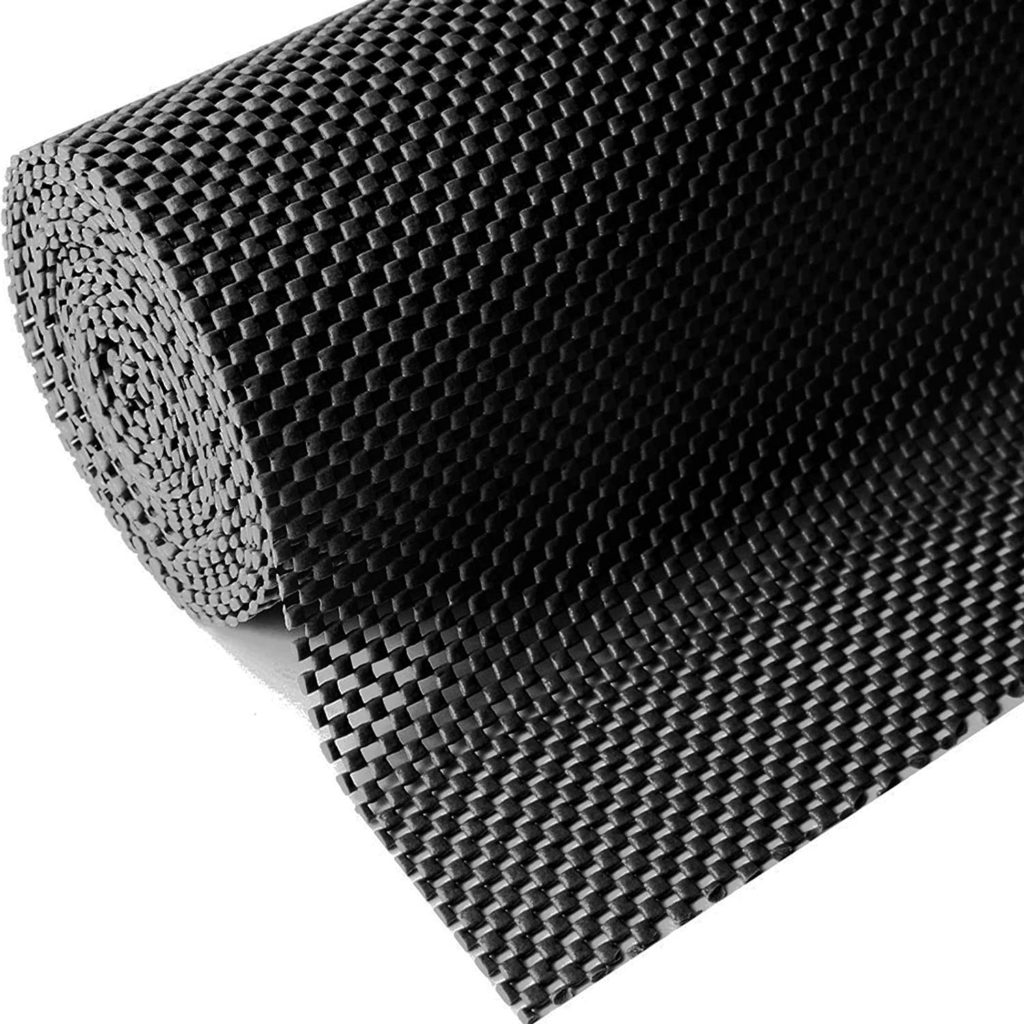
Keep Tiles In Place With Shelf Liner
There is one thing about modular tiles that everyone gripes about – they slide around.
The easiest way to deal with the problem is a roll of that soft rubber shelf liner. It protects the tabletop. It stays put, and so do the tiles.
We use black or very dark brown shelf liners. Black foamcore tiles look sharp when you lay out an encounter on a black shelf liner. It helps all of the tiles visually mesh together. Plus, it gets rid of glare.
It rolls up neatly for storage and transportation. Also, it doesn’t weigh very much.
If you cut some extra pieces, you can use them for coasters. We even use them for players’ placemats. They keep all of their cards and dice neatly in front of themselves.
I have had more luck getting it at Wally World. And the price is right. While it is also available from Jeff, we never get it from him.
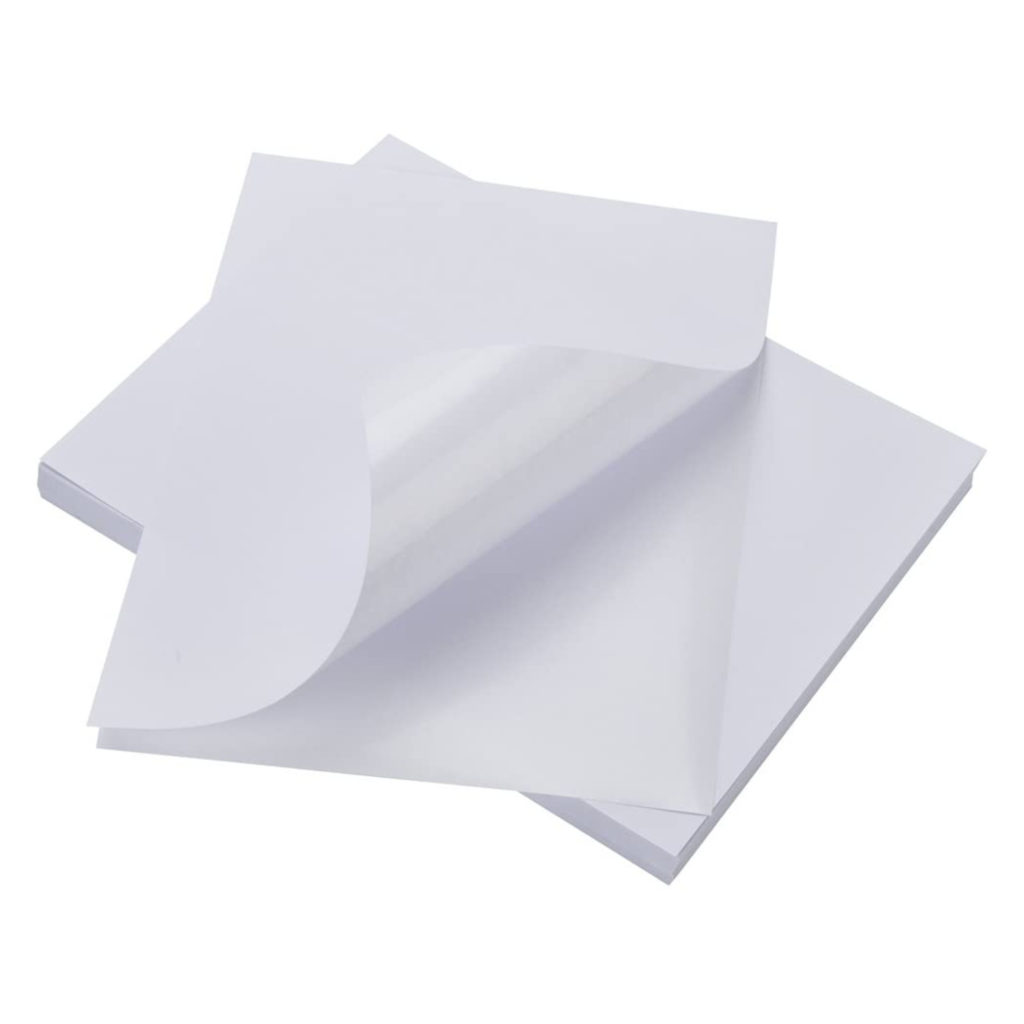
Use Adhesive Labels, Not Printer Paper
At first, we printed all of the tile images on printer paper. We then glued them to the foamcore with a glue stick. After all, that is the idea behind gluestick terrain.
When we made many tiles at one time, drying time became an issue. One day when I was drumming my fingers, waiting for a batch to dry, one of my kids asked me what I was doing. So I told her.
She gave me that ‘grown-ups are soooo slow’ look. Then she said that she liked stickers. They are cool. You don’t have to wait for them to dry. Plus, you can stick things anywhere you want right away.
So I got some full sheet stickers. They print like paper, plus we don’t have to apply glue. Sure enough, they stick instantly.
We still use gluesticks for a lot of things like gluing walls to the base. It is hard to beat an excellent permanent glue stick. But more and more, stickers are our first choice.
At first, I went to the office supply store and got some stickers. Then I found that my buddy Jeff was all over stickers. So now I have him drop them off at the front door whenever I need more.
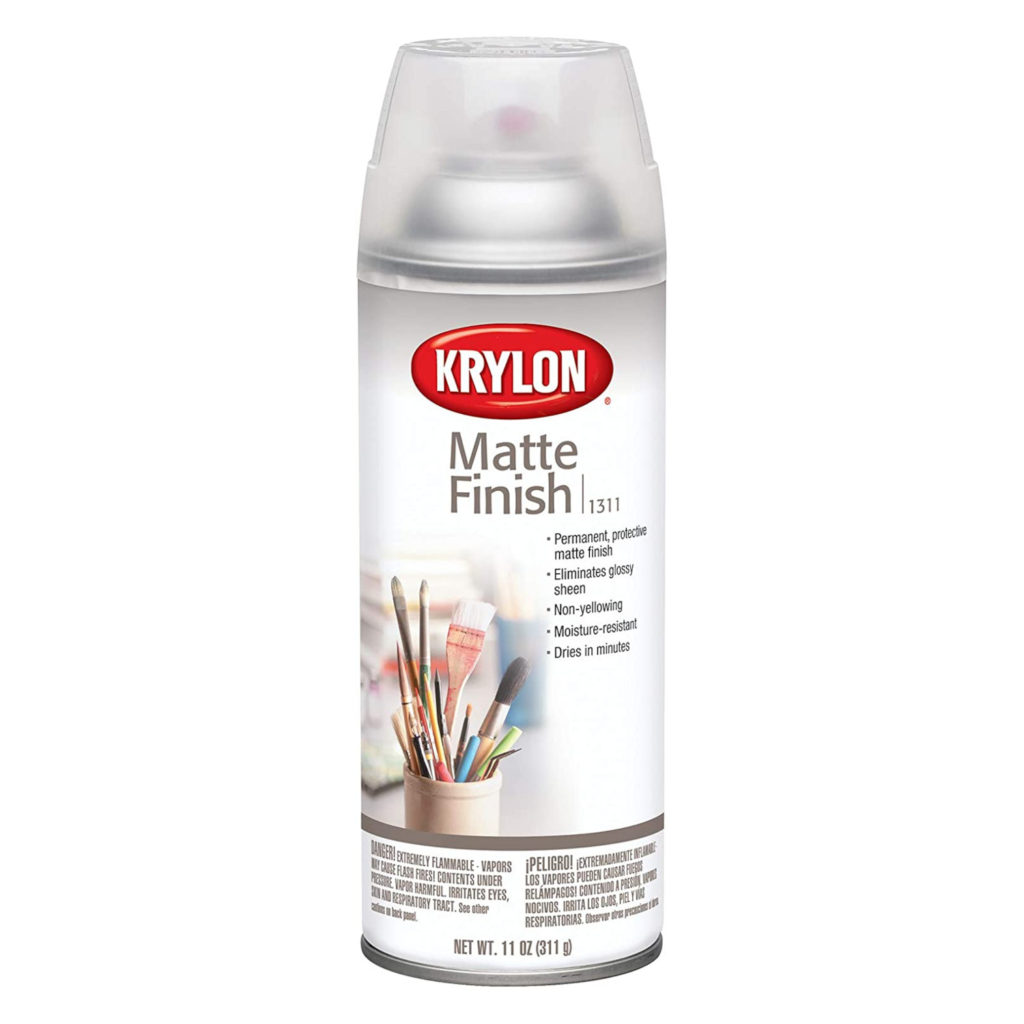
Clearcoat Works For Tiles Too
Printed paper tiles scuff easily. Printer paper has a tooth that makes it easy for inkjet printers. But it is not a hard finish, so the printing wears off after a few games. The tiles look worn out.
It became even more critical after we started using stickers. Sticker paper goes through a process to add the adhesive backer. Sticker paper is stiffer than ordinary printer paper. So ink more easily buffs off the paper surface than regular printer paper.
We needed to find a simple, inexpensive way to protect the printing.
We found the answer in the rattle can paint section – matt clear coat finish. A couple of light coats give all the protection you will need. It also helps tokens and terrain stay put.
After we found out it protected the printed paper; we wondered what would happen if we put it on the paperboard bottom.
The sprayed layer improves the paperboard bottom’s ability to fight off dings; because, it penetrates the paperboard making it harder.
When we finish putting a tile together, we spray the top, bottom, and sides. The result is a tougher tile that looks good and lasts longer.
I shop around for the lowest price. It is a toss-up between Jeff and Wally World for me.
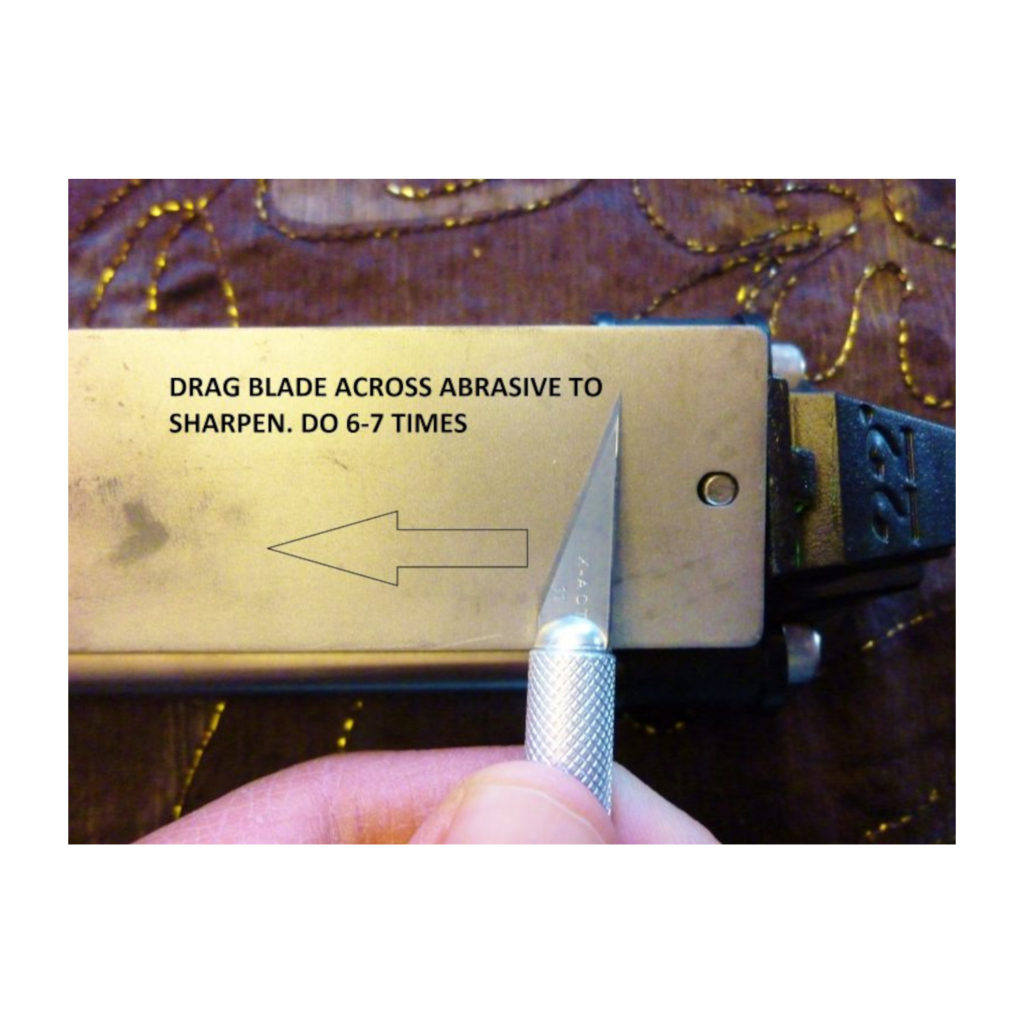
Use A Very Sharp Craft Knife
Everyone told us a sharp craft knife is the secret to making modular terrain.
They are right.
A sharp knife cuts a true line. Also, there is less drag when you cut, so it takes less effort. Unfortunately, the materials used to make modular terrain boards dull a blade quickly. So you need to check the blade’s sharpness before cutting.
Please, be very careful with a blade. It is very easy to cut yourself, especially when testing a blade’s sharpness.
I hone my blade before using it. And then repeat the process frequently while I am using it. Eventually, the blade won’t hold an edge, so you must replace it.
If you are unsure how to do this, Google ‘how to sharpen a craft knife.’
Besides cutting better, honing saves you money. You won’t have to replace blades nearly as often. Plus, it is faster to sharpen a craft knife than to replace its blade.
Final Thoughts
Glue Stick Terrain is a solid practical answer to your terrain needs. Like any good idea, it can be improved.
Game-play showed us how to build more durable tiles. We found ways to quickly and easily make them without breaking the bank. Now you can use what works best for you.
Explore Further
Get more tips and techniques on the Glue Stick Terrain Page.
Or, when you are ready, you can take home some of your own Glue Stick Terrain.