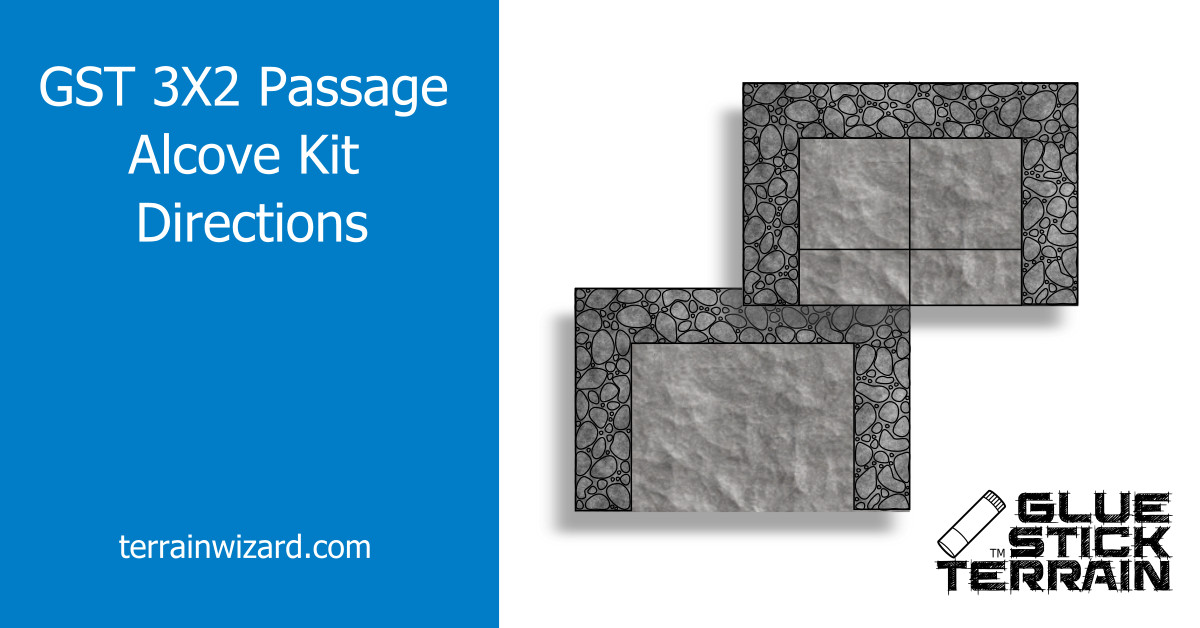
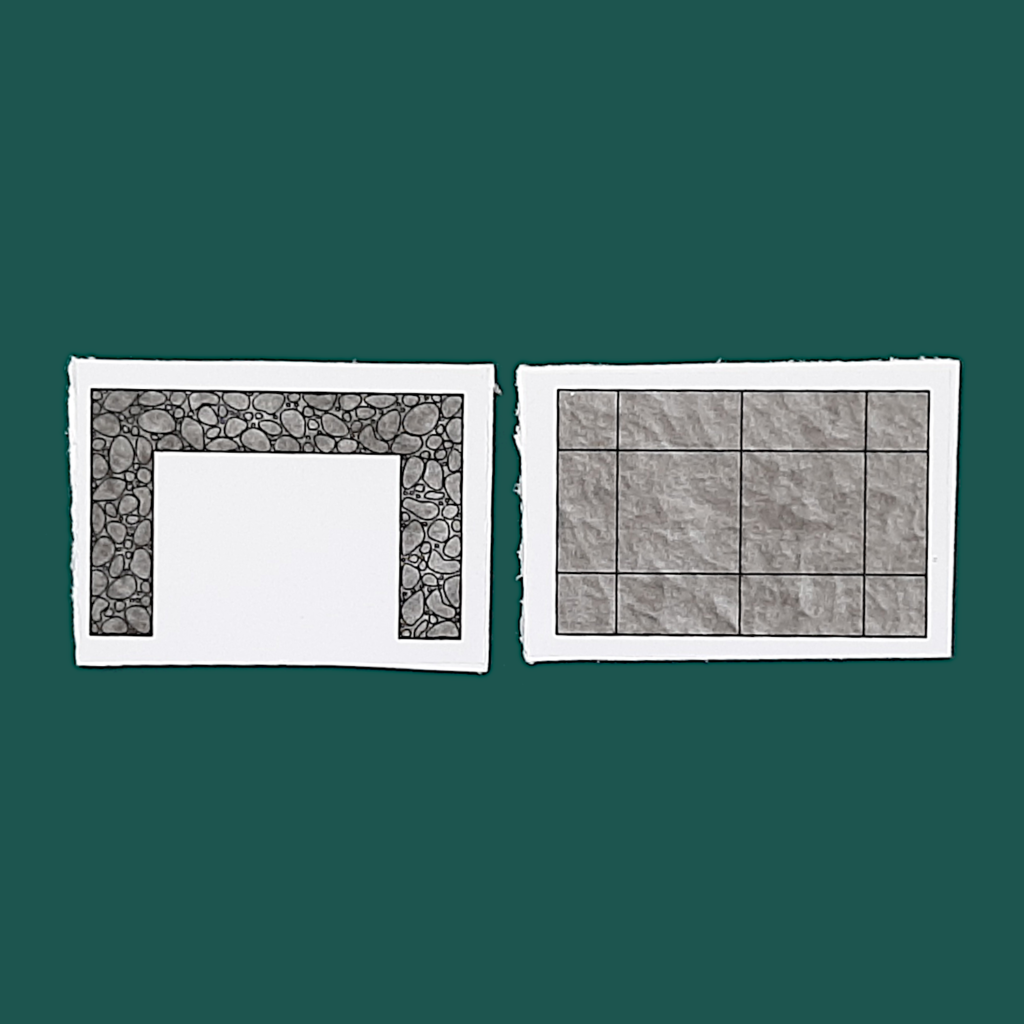
The 3X2 Passage Alcove kit contains images and instructions to make modular tiles. You can make either two 3X2 Low Profile Gridless Passage Alcove Tiles, two 3X2 Low Profile Grided Passage Alcove Tiles, or one Grided and one Gridless Passage Alcove Tile.
Contents
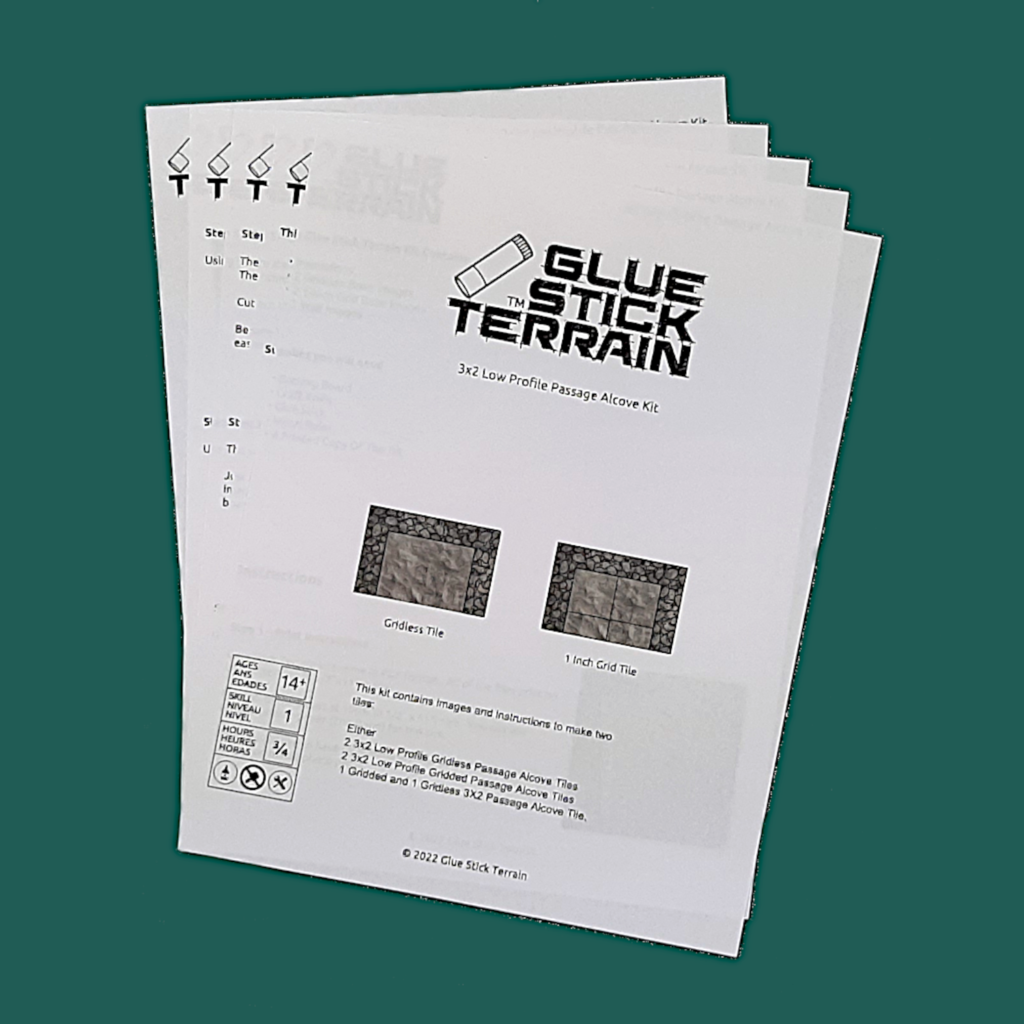
The 3X2 Passage Alcove Kit Contents
Each kit is a PDF file. So you will be able to read it or print it on your computer.
The kit contains all of the information you will need to make the tiles:
- Instructions
- 2 Gridless Base Image
- 2 1-Inch Grid Base Image
- 2 Wall Images
Supplies you will need
Backing Board
The first thing you will need is a backing board. Many people reuse corrugated paper(cardboard). Since it is free, it is a popular choice.
It works out that foamcore board is a better answer. The pieces hold up to regular gameplay better than corrugated paper. So they last longer. You also get a better-looking tile. Foamcore board is inexpensively available at big-box discount stores and dollar stores.
Craft Knife
You will need a way to cut out the various pieces of the tile.
A craft knife is the best all-around answer. You use it to cut the backing board. Also, you can use it to cut out the images before you glue them to the backing board.
If you use corrugated paper, you may find that a utility knife or a box cutter works better.
Also, you may be more comfortable cutting the printed images with scissors.
Glue Stick
The mighty glue stick holds all of the modular terrain tiles together.
You may want to use generic glue sticks from the dollar store. Unfortunately, they have not worked out well in the past. The adhesives don’t have the holding power for regular gameplay.
Pritt Original glue sticks have worked best. You may not find them in your local store. Fortunately, they are available online. Just ask Jeff to deliver some to your doorstep.
Metal Ruler
It is much easier to cut a straight line with a guide than without one. A ruler becomes necessary since you will make several passes to complete a single cut.
You will want to use a metal ruler because a craft knife or box cutter will scar the edge of plastic or wooden rulers.
Many wooden rulers have a metal edge. So you may be tempted to use one. Please don’t. A solid metal ruler gives better results.
Printed Copy Of The Kit
All the images for the tiles are in the kit. So you will have to print them.
The kit works well with regular printer paper. But you may want to use something heavier like photo paper.
Instructions
Step 1 – Print Instructions
Glue Stick Terrain kits come in PDF format.
When you download the files, be sure to select either USA letter size (8 1/2″x11″) or A4 size(210x297mm).
You can use regular printer paper (20# Bond, or 75gsm) for the kits.
You can print the tile images on matte photo paper if you want something sturdier.
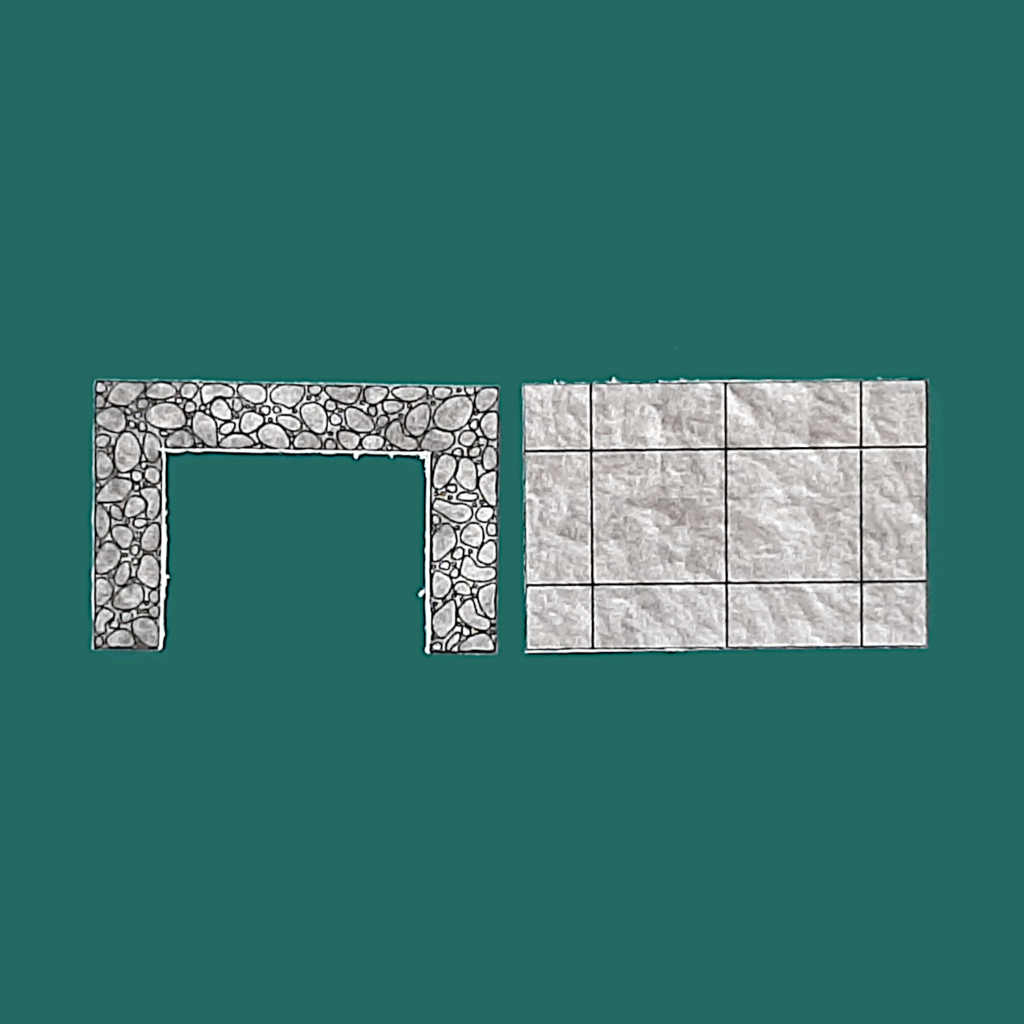
Step 2 – Cut Out The Tile Base Image
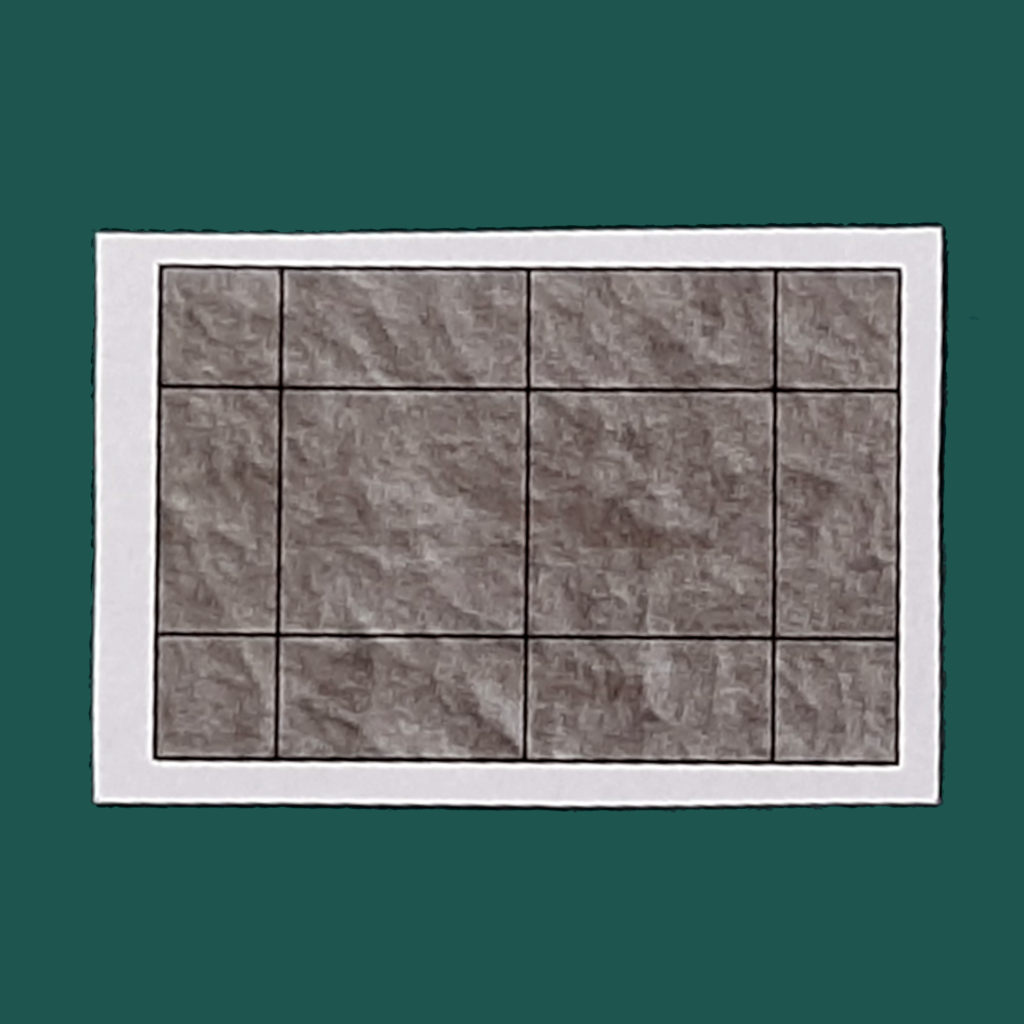
There are two kinds of base images included in the kit. One image is a gridless base, and the other is a gridded base.
Cut out the type of tile you want to create.
Be sure to leave a small margin around the image.
The margin makes it easier to stick the image to the backing board. Plus, it helps you to make a straight cut.
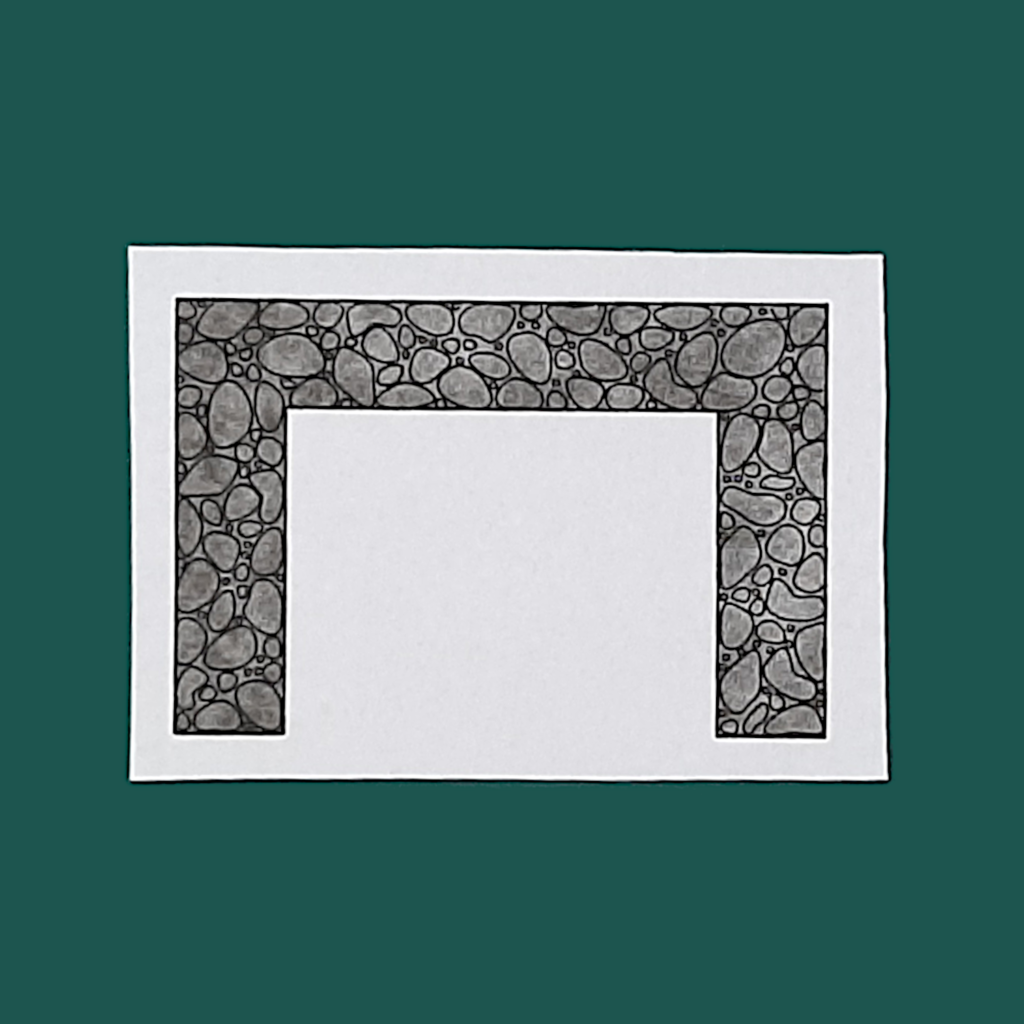
Step 3 – Cut Out The Tile Wall Images
You will use the walls with either the gridless or gridded tile base.
Leave a small margin around the images as you did with the base.
Remember, the margin makes it easier to stick the image to the backing board. Also, it helps you to make a straight cut.
Step 4 – Glue Images To The Backing Board
Use a glue stick to fasten the images to the backing board.
It is a good idea to put them on separate backing boards. So you can easily cut each piece.
Also, place some heavy books on each piece while it is drying. The weight helps press the paper to the backing board, making it stick better.
Step 5 – Cut Out The Passage Alcove Pieces
Using the metal ruler to guide the knife, cut out each piece.
Make sure you use a sharp craft knife to get the cleanest possible edges.
Please be careful. Use a cutting mat to protect your work surface. Also, pay attention to your fingers. You don’t want to cut yourself.
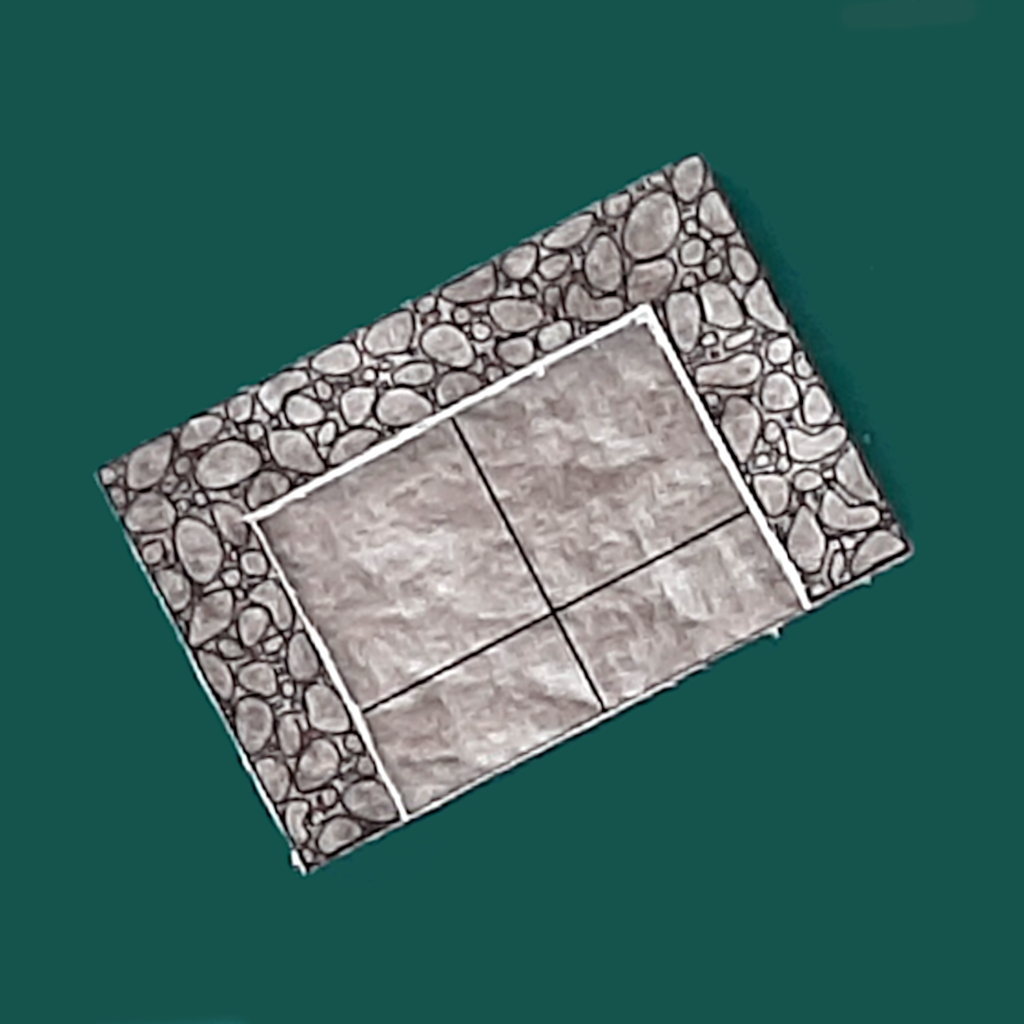
Step 6 – Final Assembly
Use the glue stick to fasten the wall pieces to the base piece.
You will have a little time before the glue sets. Use it to make sure the edges of the walls and the base line up.
Like before, place some heavy books on the tile while drying. The weight helps press the pieces together so they stick better.
Get Your Free Passage Alcove Kit Now
You can get the GST Passage Alcove Kit for free. You have to select your preferred paper format and download it.
Looking For More Modular Tiles
You can read more about the Glue Stick Terrain modular terrain tiles.
Or, when you are ready, you can take home some of your own Glue Stick Terrain.